

Developer Options: Know Everything
Contents
What is Developer Options?
Developer Options is kind of a secret menu hidden away from the average user. It has multi uses like it helps is rooting your phone and install a custom ROM, or maybe you want to sideload an app from your computer. Before you can jump into ADB commands and perform some software surgery on your phone, you can transform the look of your phone and even fake your GPS location, you have to enable the Developer options.
Scroll Down for Detailed Review Video
It also allows you to enable debugging over USB, capture bug reports on to your Android device, and show CPU usage on the screen to measure the impact of your software
Developer Options, as the name suggests, is built in for the benefit of developers, but you don’t have to be planning to write your own Android Application or Game to turn it on.
How to enable Developer Options on your Android phone or tablet?
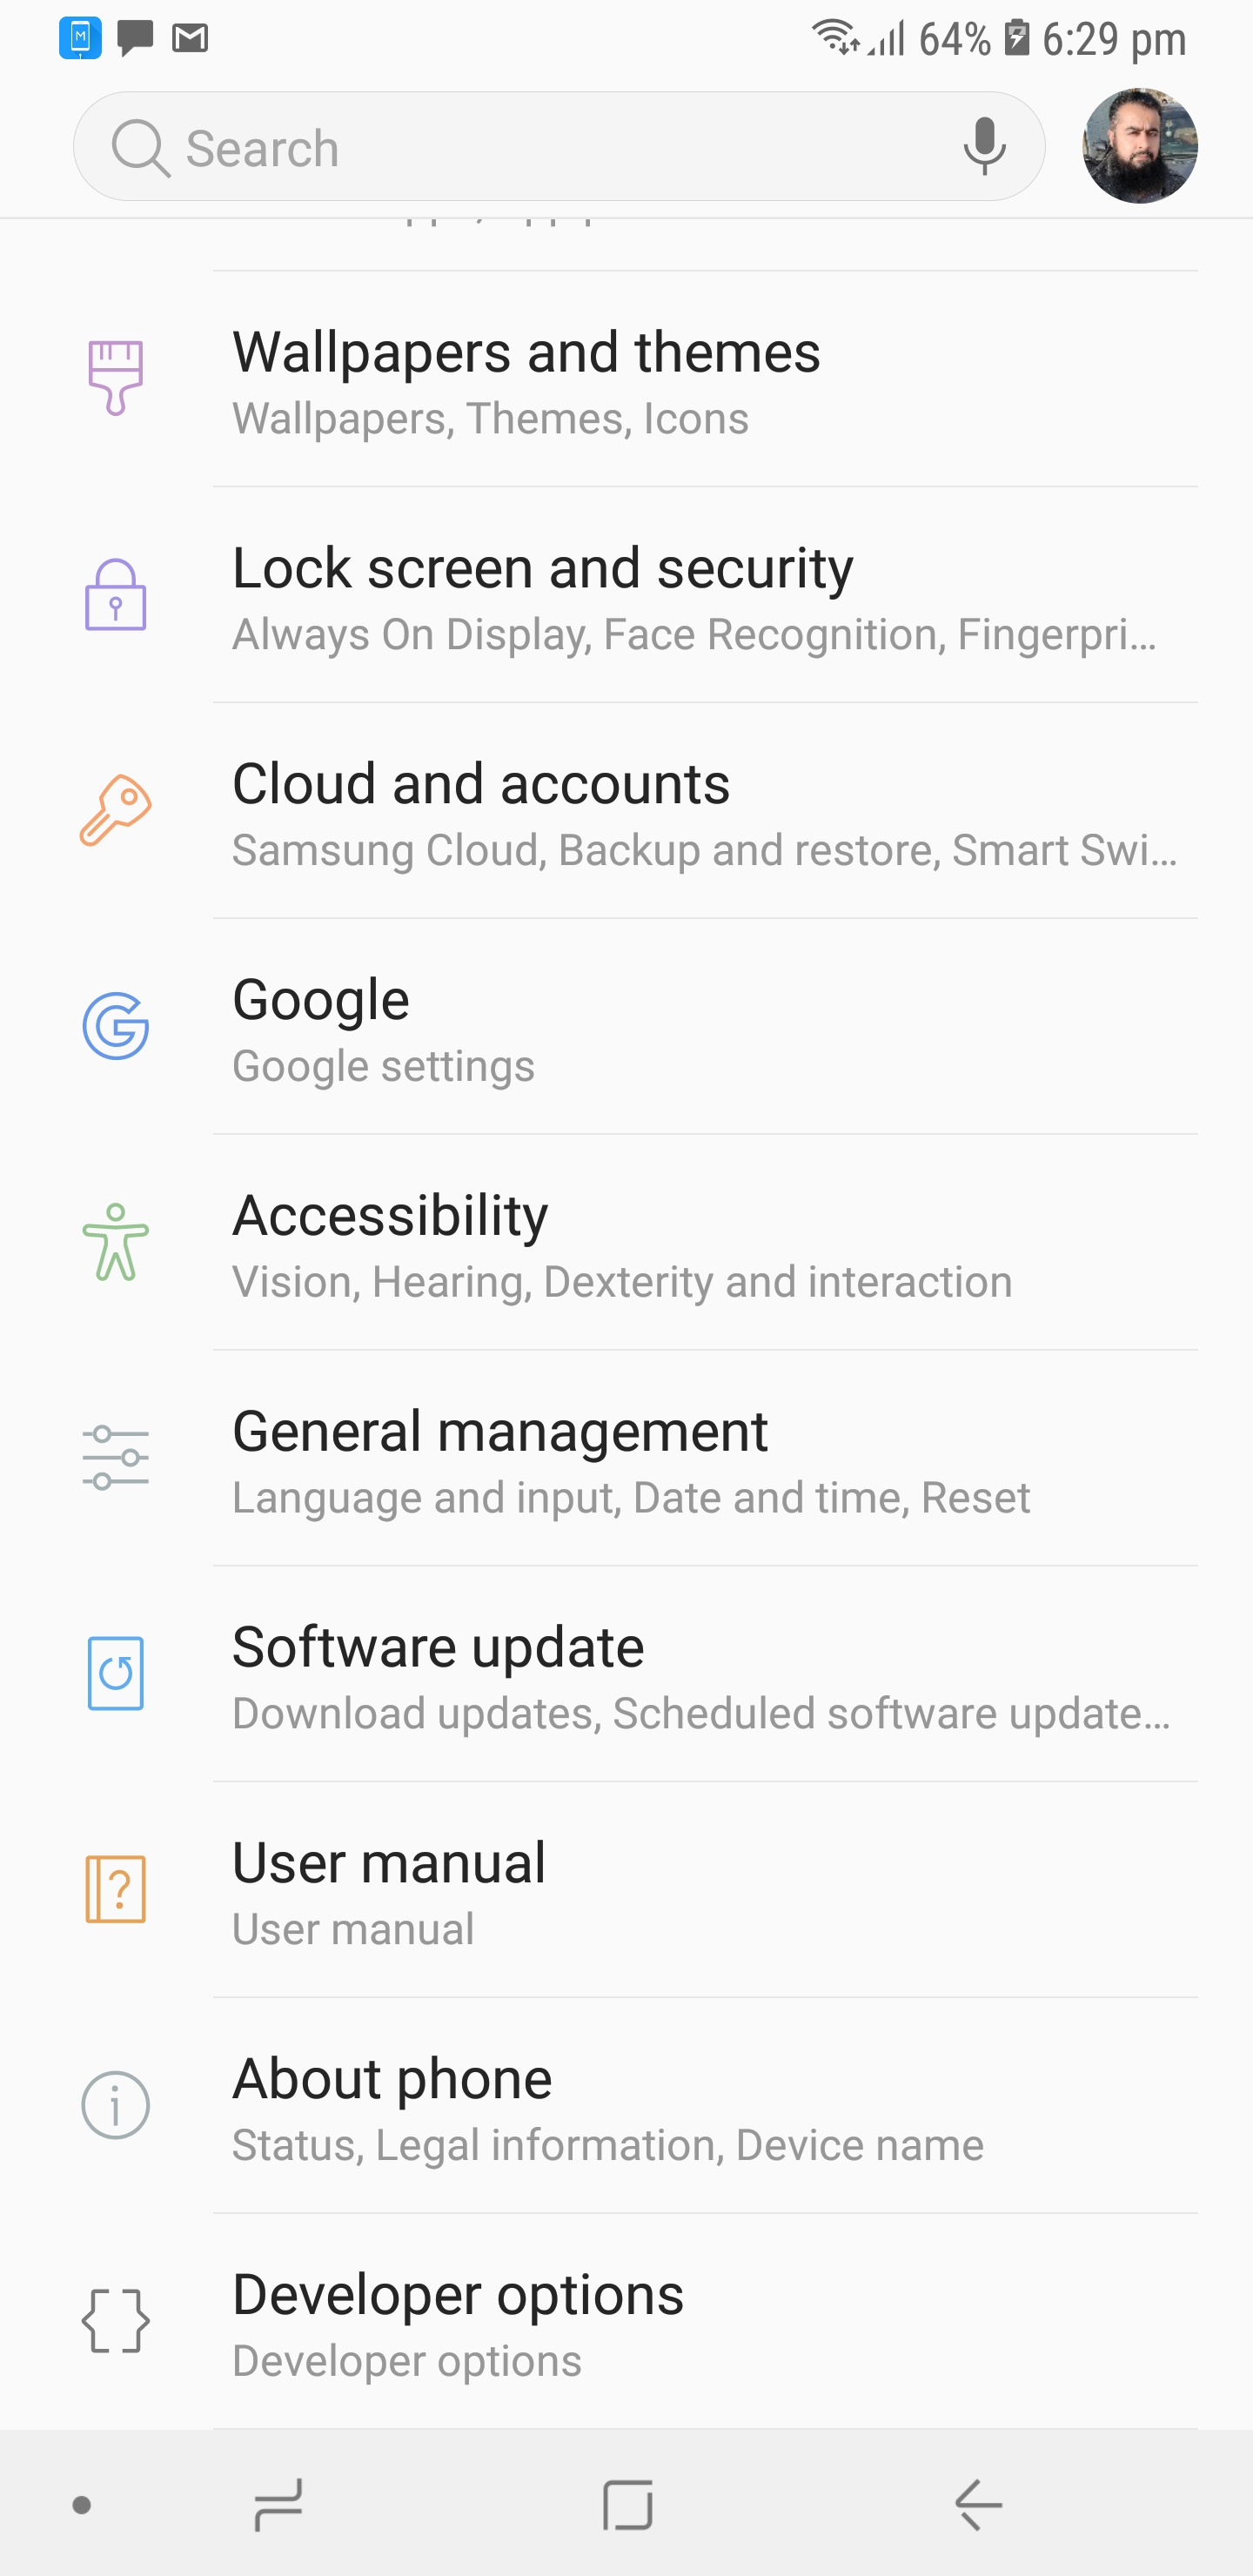
Enabling Developer options is incredibly easy to do if you know where to look. While enabling Developer Options is done almost in the same way for every Android phone or tablet, OEMs don’t always put the option in the same place. Navigate your phone to the “Build number” portion of the settings, which can be tucked away and buried in submenus.
Here’s how to get there on a few popular devices:
Stock Android: Settings > About phone > Build number
Samsung Galaxy Devices: Settings > About device > Build number
LG Devices: Settings > About phone > Software information > Build number
HTC Devices: Settings > About > Software information > More > Build number
Once you’ve found the Build number section of the settings, tap on the section 7 times. After two taps, a small pop up notification should appear saying “you are now X steps away from being a developer” with a number that counts down with every additional tap.

After the 7th tap, the Developer options will be unlocked and available. They can usually be found in the main settings menu. You dive into that menu to do things like enabling USB debugging (a frequent prerequisite to lots of hacks).


Awesome Things That Can Be Done by Enabling Developer Options
1) Rooting and Installing Other OSes
One of the primary reasons for enabling Developer Options is to install ROMs of your own. It’s not quite as easy as picking another OS from the Developer Options menu, but there’s plenty of help online to get you started.
See Also: HOW TO ROOT ANY NOTE 5 MOBILE? 100% GUARANTEED
The first step to rooting your phone is enabling Developer Option, which lets you do all kinds of advanced tricks on your Android device, from installing more advanced apps (like task automators and file undeleters) to creating full backups of everything on your phone.
While enabling Developer Options on its own won’t void your device’s warranty, rooting it or installing another OS on top of it almost certainly will, so make sure you’re definitely up for the different challenges and freedoms the process brings before you take the plunge.
2) Speed up Device Animations


Dive into your newly enabled Developer Options menu and you’ll see options for Window animation scale controls the speed at which app windows open and close Transition animation scale controls the speed at which you can switch between apps, and Animator duration scale handles all of those smaller in-app animations, like tapping menus and buttons. By ramping down these values you can speed up Android and make keypresses lead to results faster.
On a slower device it can really speed up day-to-day tasks and even on a faster one, it can make it feel snappier than ever (it just won’t look as pretty). If turning the animations off completely causes bugs in some of your apps, dial them down to the 0.5x level instead.
3) Fake Your device’s GPS location
There might be times when you want your friends or the apps you’re using to think you’re somewhere you’re not, and Developer Options makes this possible. Go down the list of options in the menu, and tap Select Mock Location App to set up this GPS spoofing.


As will become obvious, you need a GPS spoofing app as well, but there are a number of free ones available including Fake GPS Location and Fake GPS Location Spoofer Free. Get one installed and launch it to set up the necessary permissions and configuration settings.


With that done you can return to Developer Options, select your app of choice, and start spoofing as you like. It’s helpful for apps that are locked to a specific part of the world, as well as for fooling your contacts into thinking you’ve suddenly become a globetrotter.
4) Speed up High-End Games
If you’re using a premium Android handset and want to give your games that extra little push, you can turn on some advanced graphics processing features thanks to Developer Options. The main setting you’re looking for is Force 4x MSAA (multisample anti-aliasing).


Activating this results in a smoother, better-looking visual experience in certain high-end games and apps, but you really need a phone or tablet with a decent GPU inside otherwise it might cause problems (part of the reason why it’s switched off by default).
On the downside, all of this extra processing will usually drain your battery faster, though the actual impact is going to vary from phone to phone. Keep an eye on the battery level if you enable this, and decide for yourself whether you think it’s worth the compromise.
5) Enable USB Debugging
USB debugging sounds like an option only an Android developer would need, but it’s probably the most widely used hidden option in Android. USB debugging allows applications on your computer to interface with your Android phone over the USB connection.
This is required for a variety of advanced tricks, including rooting an Android phone, unlocking it, installing a custom ROM, or even using a desktop program that captures screenshots of your Android device’s screen. You can also use ADB commands to push and pull files between your device and your computer or create and restore complete local backups of your Android device without rooting.


USB debugging can be a security concern, as it gives computers you plug your device into access to your phone. You could plug your device into a malicious USB charging port, which would try to compromise you. That’s why Android forces you to agree to a prompt every time you plug your device into a new computer with USB debugging enabled.
6) Stay Awake While Charging
Enabling this option will keep your device’s screen on while charging and won’t turn it off.
7) Show Always-On-Top CPU Usage
You can view CPU usage data by toggling the Show CPU usage option to On. This information will appear on top of whatever app you’re using. From left to right, the numbers represent your system load over the last one, five, and fifteen minutes.
This option could not be seen in Android 8.0 (Android Oreo) Version.
8) Take bug report
Tapping this option grabs the current log files on your device, packages them up and prepares them for sending to, well, whomever you want to have it. It takes a minute or two after you tap it, and you’ll see a notification once it’s ready. Tap that notification to send it on its way. Swipe it away to cancel.

Other Important Developer Options Settings in a Glance
- Desktop backup password: You can use ADB to backup and restore things like apps and their associated data to and from your computer. This option forces a password on those backups, and they can’t be restored without that password.
- Stay awake: Checking this box will force the screen on your phone to stay on anytime and every time it is plugged in. This works with a wall charger or your computer’s USB port and is a great way to make sure you burn images into your screen. Don’t use this one unless you need to!
- Select runtime: Here is where (for now)you choose to use Dalvik or ART. ART is still experimental and what we have now isn’t what will eventually be released in Android L. Some phones really don’t like the current ART runtime preview, so refer to the forum for your particular device before going there.
- Enable Bluetooth HCI snoop log: Sometimes, a developer (or security specialist) will need to capture and analyze Bluetooth HCI (Host Controller Interface) packets. Enabling this will place them in a file on the device storage (/sdcard/btsnoop_hci.log) for retrieval. You can then analyze them with a program like Wireshark.
- Process stats: Everything you ever needed to know about the running processes on your phone. Go ahead and tap it, then tap one of the entries. For the layman, it’s just a lot of numbers, but for a developer debugging his or her app, this information might save the day.
- USB debugging: This is what allows your phone to communicate over the USB port on your computer via the Android Debug Bridge (ADB). You need to enable this to use things like DDMS, or to use ADB commands.
- Revoke USB debugging authorizations: When you use a computer to debug over USB for the first time, you have to authorize it and set up a keypair. This setting revokes all those and forces you to do it again.
- Power menu bug reports: Puts an option in the menu you see when you press and hold the power key to collect and send a bug report (as seen above). Very handy if you’re testing something.
- Allow mock locations: This setting will let you manually write location information, making your phone think it is somewhere it really isn’t. Besides cheating at foursquare, this is useful if an app uses location information.
- Select debug app: This setting lets you choose an application to debug. You don’t really need to attach it to a debugger, but if you do it prevents error messages when paused on a breakpoint. If you don’t understand what this means, you’ll never need to use this setting and probably shouldn’t. It’s built for use with tools application developers use to make sure their app runs as intended.
- Wait for debugger: This setting is greyed out unless you’ve set an app to debug. When setting up and selected, it simply prevents the chosen application from starting until the debugger is attached. This is more application debugging stuff most of us will never need.
- Verify apps over USB: Lets Google scan applications you installed via ADB for malicious behavior. This is a good thing.
- Show touches: Select this to see a visual cue on the screen when and where a touch was registered.
- Pointer location: This setting places an information bar at the top of your screen telling you the screen coordinates of the last place the screen was touched.
- Show surface updates: Makes the edge of a “window” flash when its contents are updated. Annoying as hell.
- Show layout bounds: Marks the edges of all the elements in a dialog so you know where any touch will activate them. Try this one, then quickly shut it off.
- Force RTL layout direction: Forces screen orientation for right to left language support.
- Window animation scale: Sets the speed for window animation playback. A lower number is faster.
- Transition animation scale: Sets the speed for transition animation playback. Again, lower is faster.
- Simulate secondary displays: This setting allows developers to simulate different screen sizes. It’s pretty wonky.
- Force GPU rendering: Forces applications to use hardware 2D rendering if they were written to not use it by default. Sometimes, this does wonder. Other times, everything goes to hell. Be careful here.
- Show GPU view updates: With this setting, any view that is drawn with the GPU hardware gets a red overlay.
- Show hardware layer updates: This setting will tell you when those layers update.
- Debug GPU overdraw: Overdraw happens every time the application asks the system to draw something on top of something else. This setting lets you see when and where this is happening so you know if it is a problem.
- Force 4x MSAA: This setting forces multi-sample anti-aliasing (MSAA). Like any other computer graphics hardware, more AA makes things look better, but performance takes a hit.
- Strict mode enabled: This setting flashes the screen when an application uses the main thread to perform long, intensive operations.
- Show CPU usage: Places a tiny window in the upper right of your screen with information about the CPU and how it is being used. A neat one to play with.
- Profile GPU rendering: This setting can either draw a graph on the screen or write it to a file. The graph is a visual rendering of how hard the GPU is working. This is another really neat one to try.
- Enable OpenGL traces: This setting watches for OpenGL errors and places them in the log file you chose when you started it up. Nothing that most users will ever need to touch.
- Don’t keep activities: This setting destroys (as in, forces everything closed) any and every application as soon as you leave the main view. Nothing good can come of this, regardless of what you might have heard on the Internet.
- Background process limit: Allows a custom setting of how many processes can run in the background at once. Another one most of us shouldn’t be fiddling with very often, if at all.
- Show all ANRs: This setting makes every process show an “App Not Responding” dialog if it gets hung — even background processes that the user did not start. Useful if one application is interfering with another.
How to Hide Developer Options Menu
Most of the other options here will only be useful to developers debugging their Android apps. You shouldn’t start changing options you don’t understand.
If you want to undo any of these changes, you can quickly erase all your custom options by sliding the switch at the top of the screen to Off. In case you want to turn off the Developer Options then there are generally two Methods (Still if you face any problems, let me know in comments below mentioning your Device Name with Android Version).
Method 1:
- Open Settings on your device.
- Scroll to Apps/Applications and tap it.
- Then swipe the screen from right to left till you see the list of ALL apps.
- Find the Settings app and open it.
- Now tap the Clear data button.
- Now go back to Settings. Developer options should not be visible there anymore.
Method 2:
If Method 1 does not work for you then following the method described below will wipe all data and installed apps on your device. It’ll work on all Android phones and tablets.
If you are ready to pay that price, see below:
- Open device Settings.
- Tap on More/General tab (for Samsung users only).
- Open Backup and reset.
- Uncheck Backup my data option.
- Tap Factory data reset.
- Select Reset device and confirm when prompted.
- Your device will reboot when the factory reset is done.
- When the device boots up, open Settings>More/General. Developer options should be hidden now!
Developer Options Detailed Instruction – Most Important Features – Video


Do you have a twitter? Can I follow you?
So what is the most interesting feature of Developer Options for you? For me it is USB Debugging.